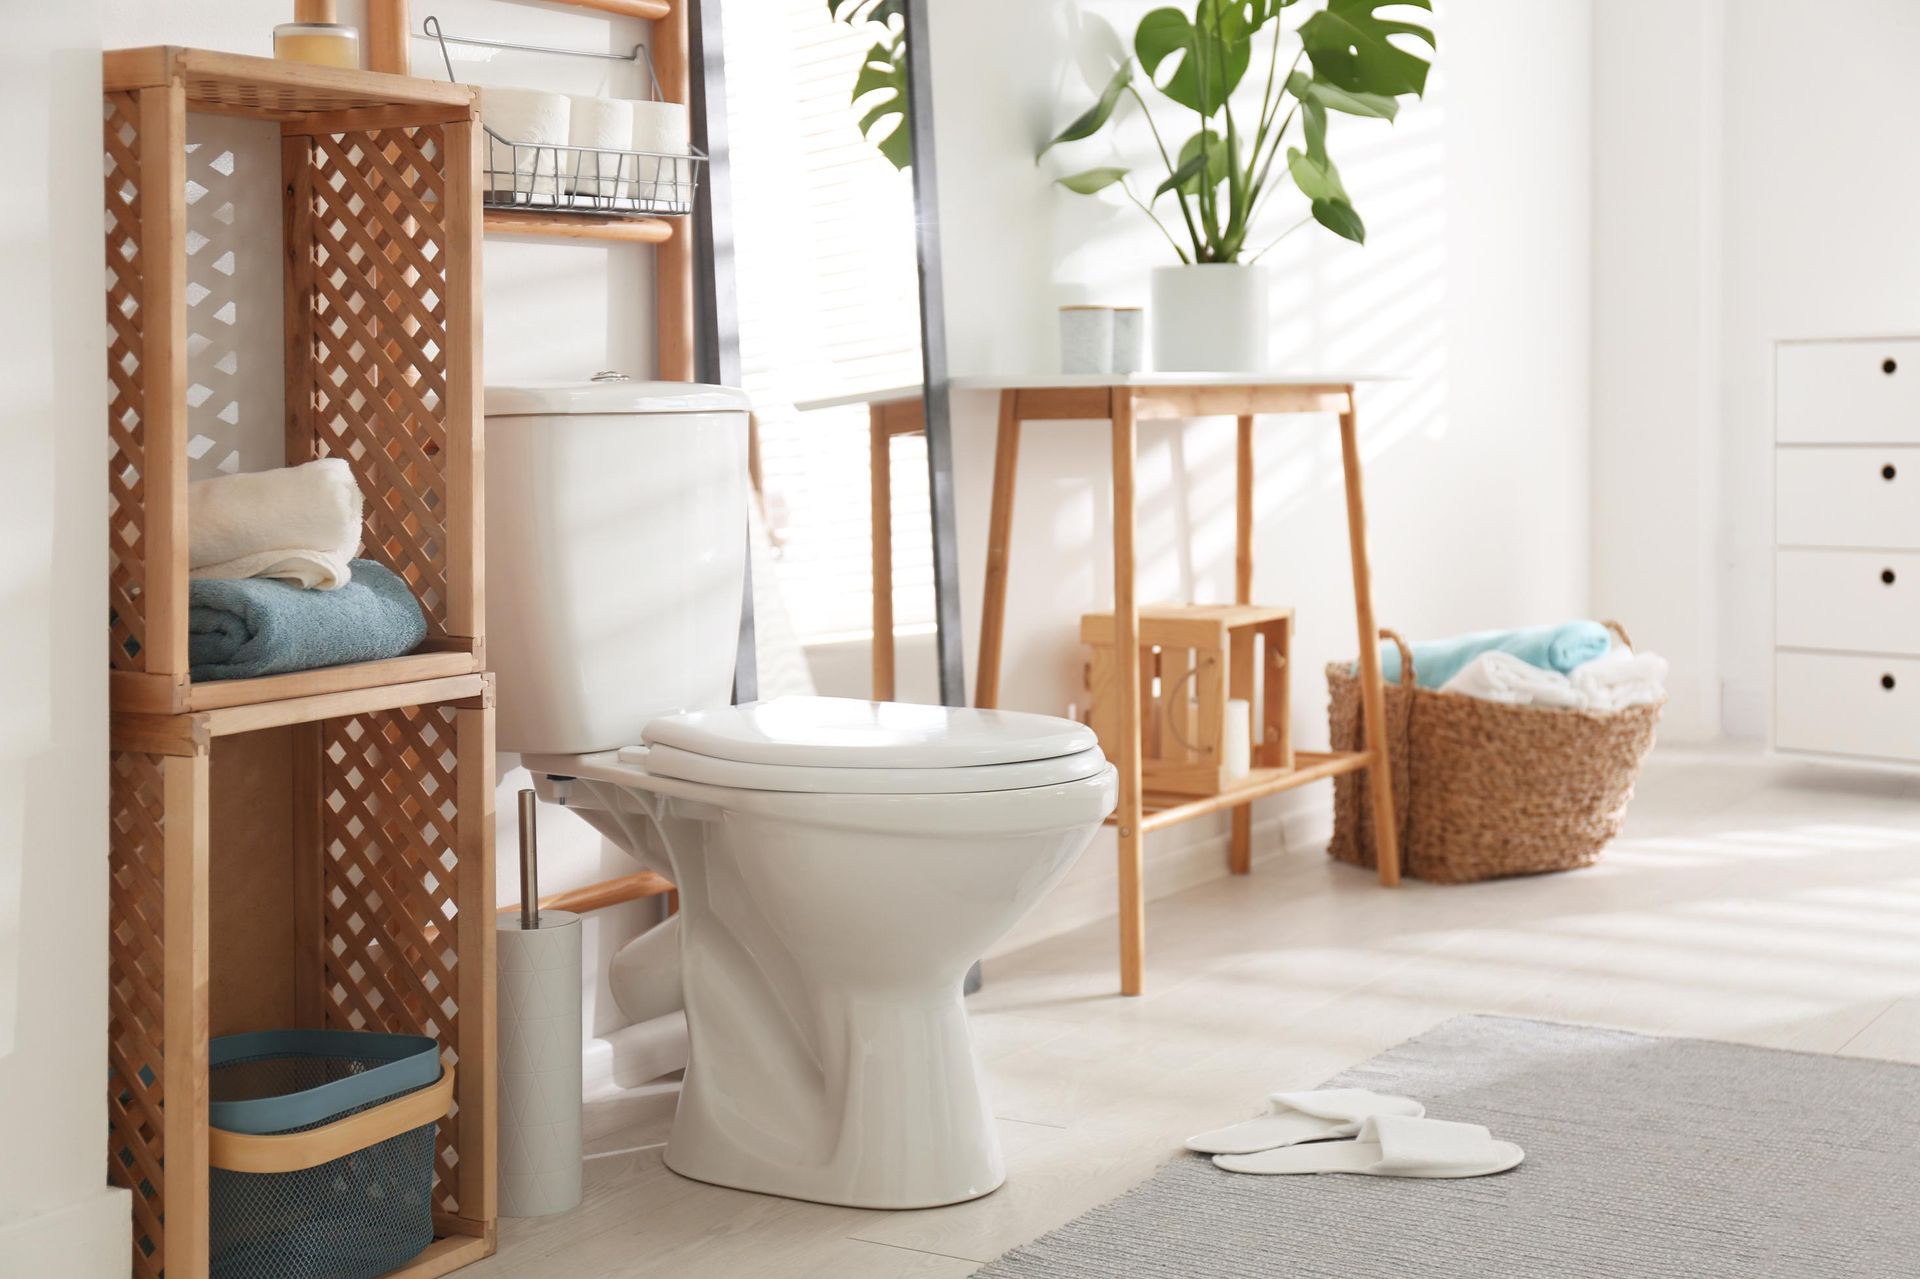
How to Install a Toilet
Step-by-Step Guide for Setting up Your Bathroom Fixture
Installing a toilet can seem like a daunting task, but with the right tools and guidance, it becomes quite manageable. Whether you are upgrading your bathroom or fixing a leaky fixture, knowing how to install a toilet is a valuable skill. In this guide, we will walk you through each step of the process, focusing on efficiency and quality. You will learn about the essential tools you’ll need, the common challenges you might face, and best practices to ensure a successful installation.
Essential Tools and Materials Needed
Before starting the project, gather all necessary tools and materials. This preparation ensures that the Toilet Installation goes smoothly without unexpected interruptions. You will need:
- A new toilet set
- A wax ring
- An adjustable wrench
- A screwdriver
- Plumber’s tape
- A bucket and sponge for cleanup
Removing the Old Toilet
The first step in installing your new toilet is removing the old one. Begin by turning off the water supply to the toilet and flushing it to remove most of the water from the tank and bowl. Use a sponge to soak up any remaining water. Then, unscrew the nuts from the base of the toilet using an adjustable wrench. Carefully lift the old toilet off the floor and set it aside.
Preparing for New Installation
Once you’ve removed the old toilet, it’s time to prepare for the new one. Clean the flange area thoroughly to ensure there are no debris or remains from the previous wax ring. Place the new wax ring on the flange, pressing down firmly so it adheres well. Proper preparation here is crucial for a leak-free Toilet Installation.
Setting up the New Toilet
With the flange ready, you can now set up your new toilet. Carefully lower the toilet onto the wax ring, ensuring that the bolts protrude through the base’s holes. Gently press down on the toilet to create a good seal with the wax ring. Tighten the nuts onto the bolts evenly using your wrench, but be careful not to over-tighten as this could crack the porcelain.
Connecting Water Supply and Testing
Now that your toilet is secured in place, reconnect the water supply line to the fill valve on your toilet tank. Use plumber’s tape on threads if needed to prevent leaks. Turn on the water supply and allow the tank to fill completely. Check for leaks around the base and adjust connections as necessary. A test flush will help confirm everything is working properly.
Common Mistakes to Avoid
There are several common pitfalls when installing toilets that you should avoid:
- Not turning off water supply: Always ensure it’s turned off before starting work.
- Incorrect wax ring placement: Ensure it is centered correctly for a proper seal.
- Uneven bolt tightening: Tighten gradually in small increments to avoid cracks.
Maintenance Tips for Longevity
Regular maintenance extends your toilet’s lifespan and ensures smooth operation. Inspect fittings regularly for leaks and tighten them if necessary. Clean mineral deposits from inside parts periodically to keep them functioning efficiently. These simple steps can prevent potential issues down the line.
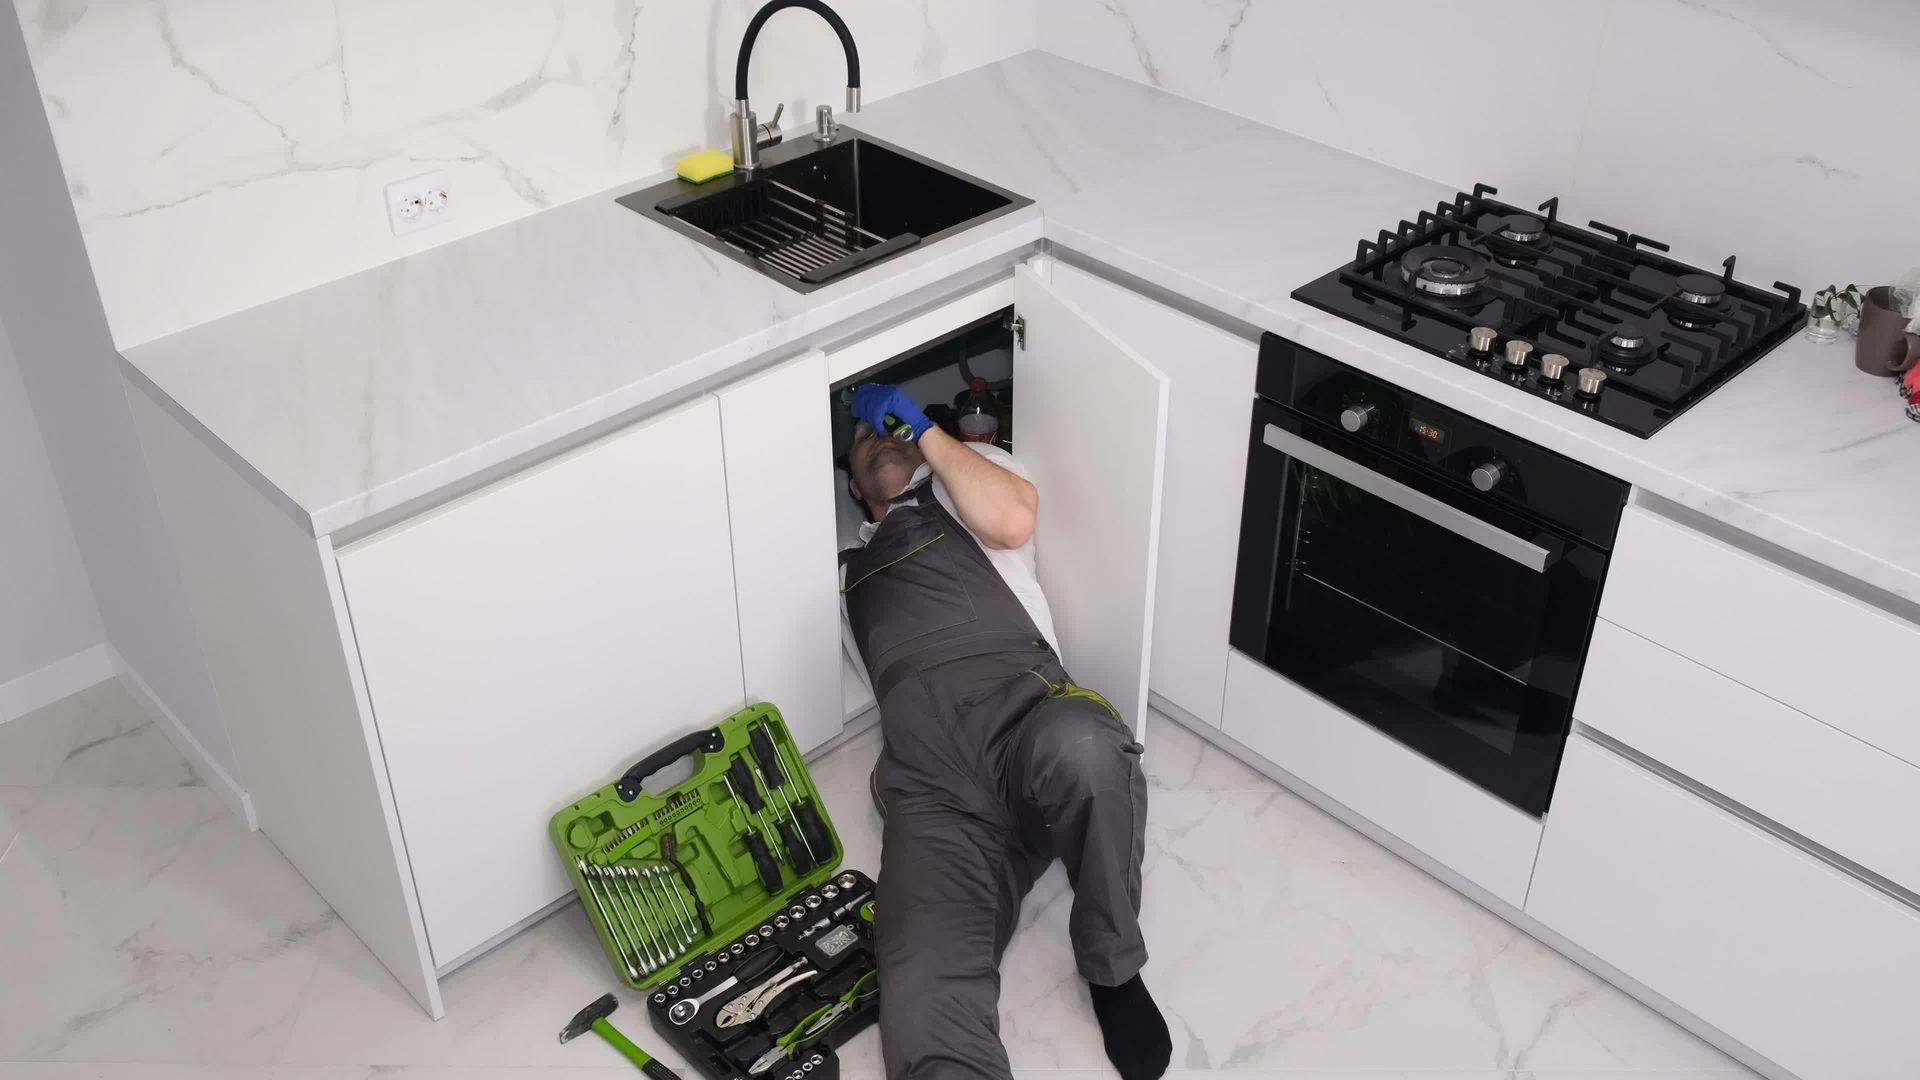
Call Our Experts Today!
If you’re unsure about handling this task yourself or encounter problems during installation, our team is here to help. Contact Metro Rooter Plumbing - Holly Springs at (919) 244-5638 for professional assistance. We are based in Holly Springs, NC, providing expert services tailored to meet your needs.